Adding Google Map API to Android App
Android development is fun relative to other similar technology platforms and you can call it as a hobby too. DEVELOPING Android application will give same amount of fun as playing with application in phone. Google made it so easy by providing few APIs that is also for free!
Here I'm going to explain about Google Map API and how one can make use of these APIs in his Android app.
I'm making use of the Android Studio, steps may vary depending upon the tool you use
Step 1: Creating Android Project
Open Android Studio and create a new Android Project


Select Minimum SDK as per the requirement. If you are developing application for KitKat version
you can chose API 19
Click on Next

Select Google Map Activity as a launcher activity. (You can also select other activity as launcher activity and can add Map activity to the application)
Click on Next
Enter the activity name and click on Finish.
Step 2: Registering your App in Google Console and creating an Api Key
Sign in into https://console.developers.google.com using Google account.
From home page API Manager => Credentials

Click on Create credentials and select API key.
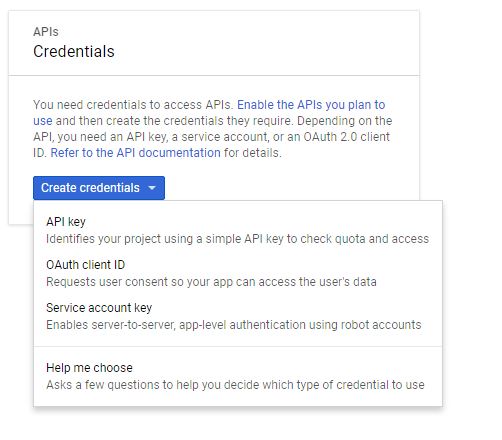
A popup appears with the key value then click on Restrict

Select Android apps radio button and provide the package name of the project you created(You can refer AndroidManifest file for the package name and App signature( discussed below how to create an Android app signature ) then click on Save.
To generate signature for the app follow the following steps:
- In Android Studio click on the Gradle bar on right most corner
- Refresh the Gradle Project list
- Expand Project Folder => Tasks => android => signingReport

4. Double click on signingReport. A console appears with the signature generated. Copy and paste the same on the Google API manager.

Step 3:
Provide the API key in the google_maps_api.xml file created under app => values
Step 4:
Run the app on Emulator or Phone to see the result. You will get a screen as follows

Happy Coding :)


Comments
Post a Comment